Off-the-shoulder Top X Ankara Skater Skirt

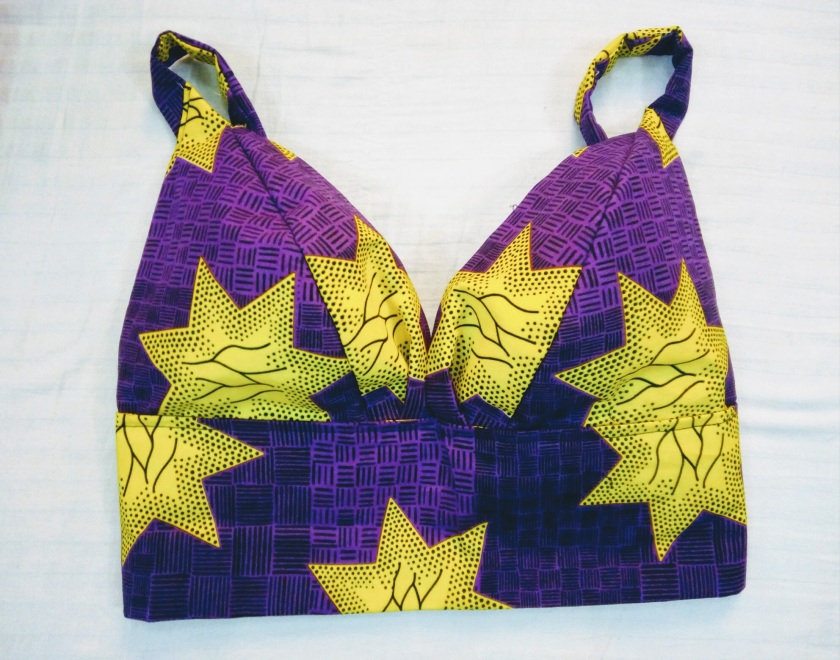
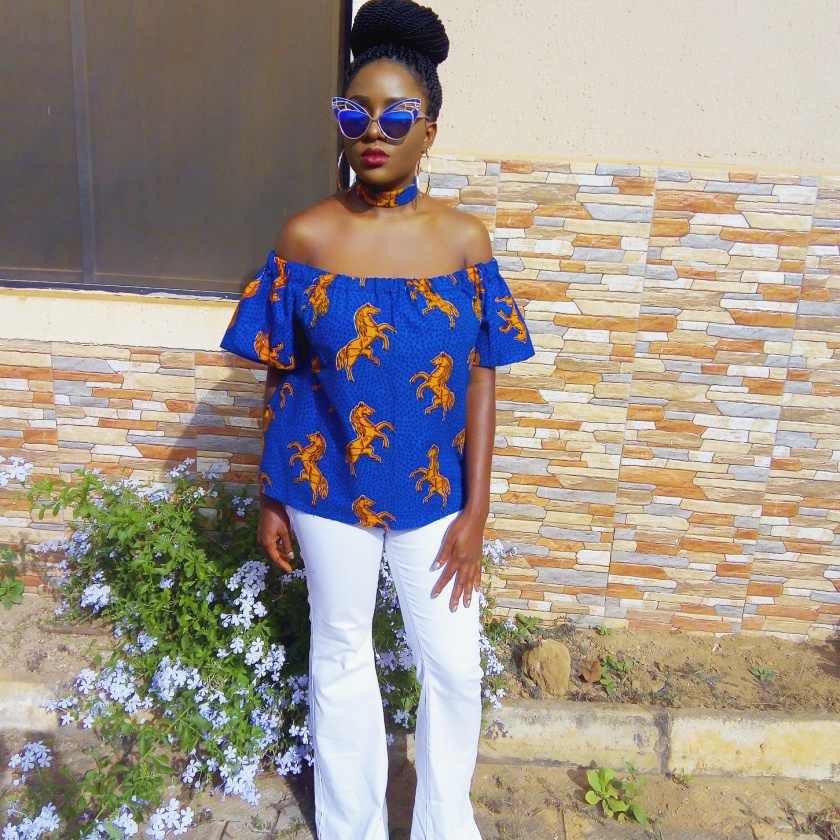
My love for ankara fabric and bare shoulder  lately is really overwhelming, so I decided to pair my two favourites together. I wore this skirt with the bralet that I made for Christmas here.

This outfit is me just playing dress-up and I’m so in love with it.

How I made the skater skirt, continue after the jump…

Skater skirt

All you’ll need:

  • Fabric
  • Sewing machine
  • Zipper
  • Thread
  • Measuring tape
  • Office pins

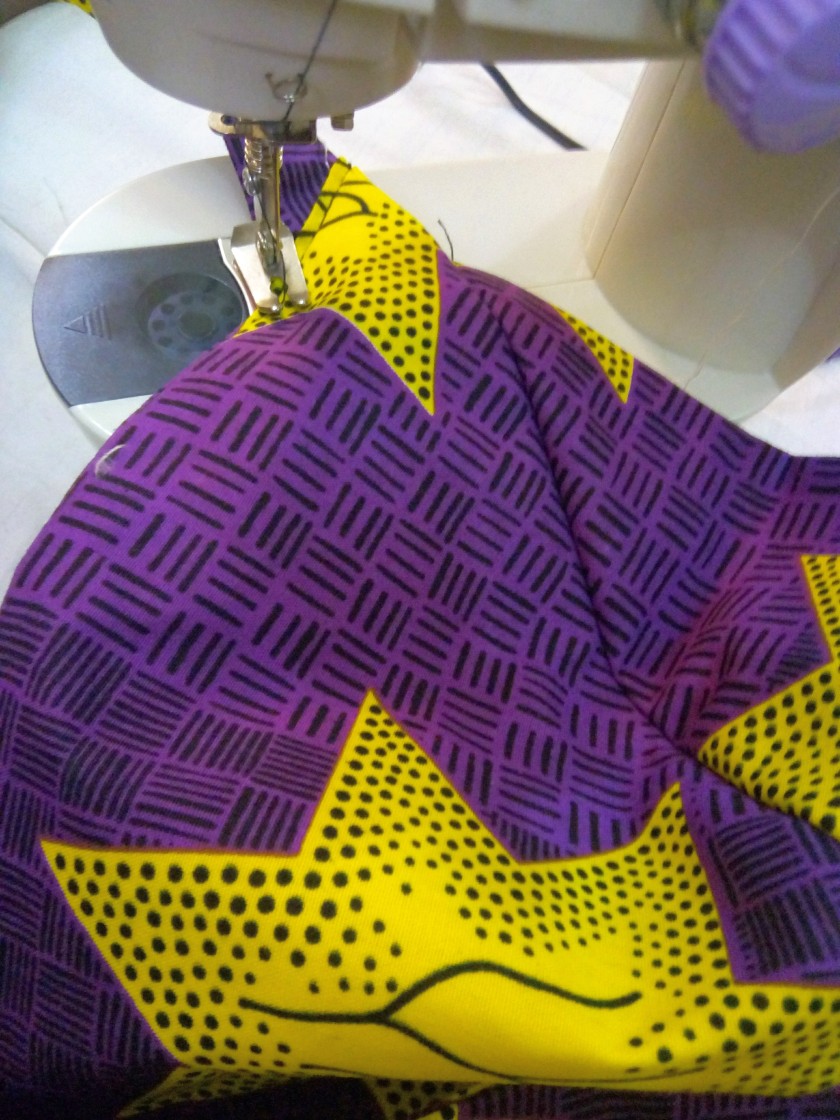
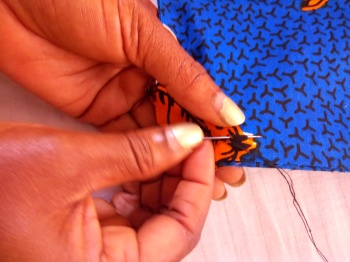
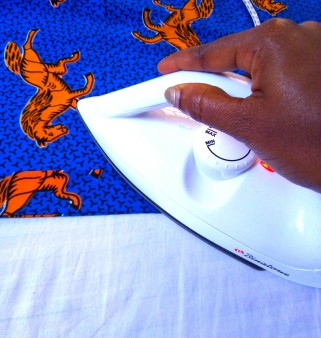
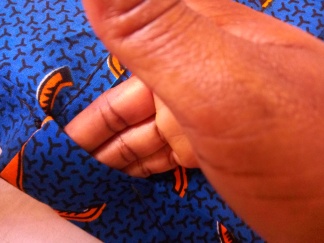
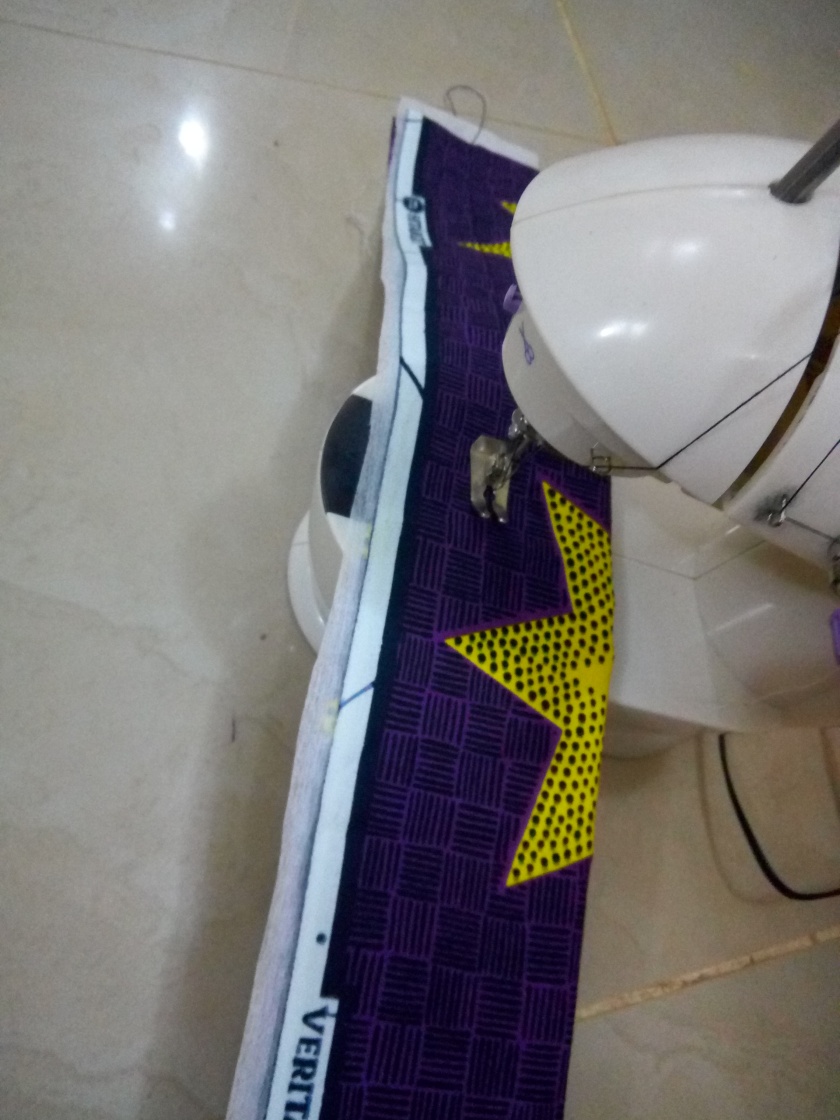
First, you cut 2 rectangular pieces for the waist band which will be the waist measurement and add 2inches. Place a stitch witchery on the wrong side of one fabric. Then sew the order rectangle together.

img_20161223_204347

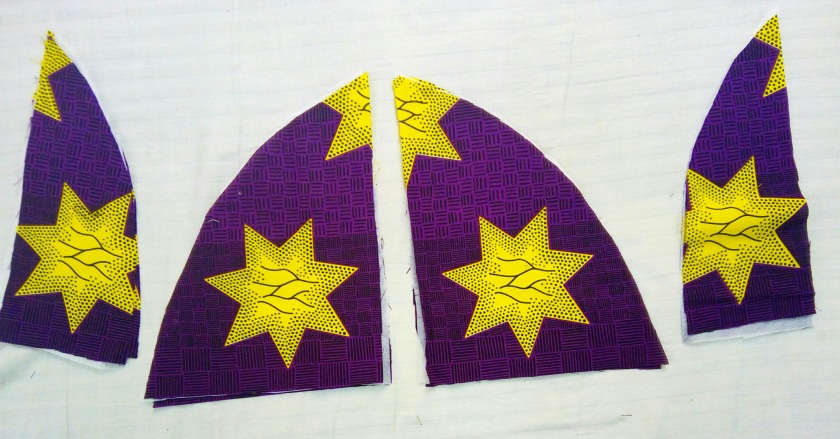
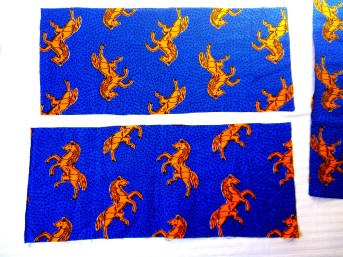
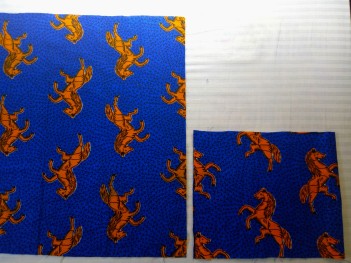
Then for the skater, you fold your fabric twice to form 4 joined square.

img_20161223_194018

To cut the waist measurement; measure your waist around you belly button with a tape, mine is 28, the radius will be r=28/2π, where π = 3.14 and note the radius of your waist measurement. At the joined corner, where all four square meet, measure your waist radius, add 2 inches and pin it.

img_20170127_125119_321

Skater skirt

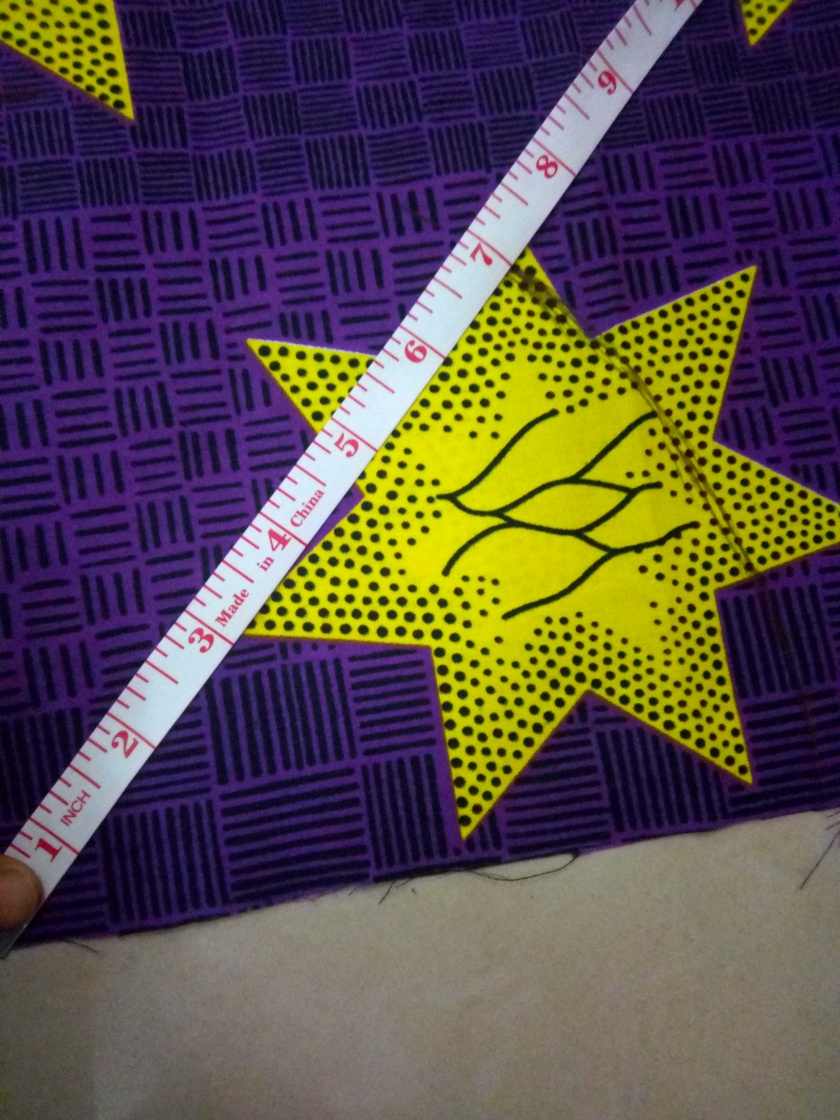
To cut the skirt length; From the waist measurement cut, place you tape from there, add 2 inches to  your desired skirt length.

Skater skirt

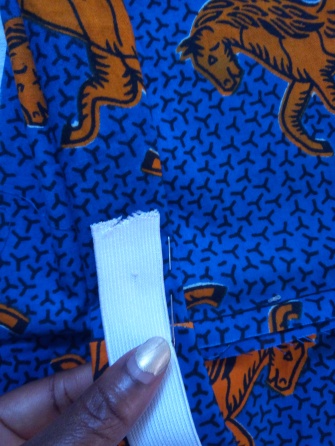
Attach the waist band to the skirt, then sew together. Fold the waist band ends by 1 inch. Place your zipper and the sew it. The hem of the skirt, fold 1inch twice and sew it round.

skater skirt

Skater skirt

Skater skirt

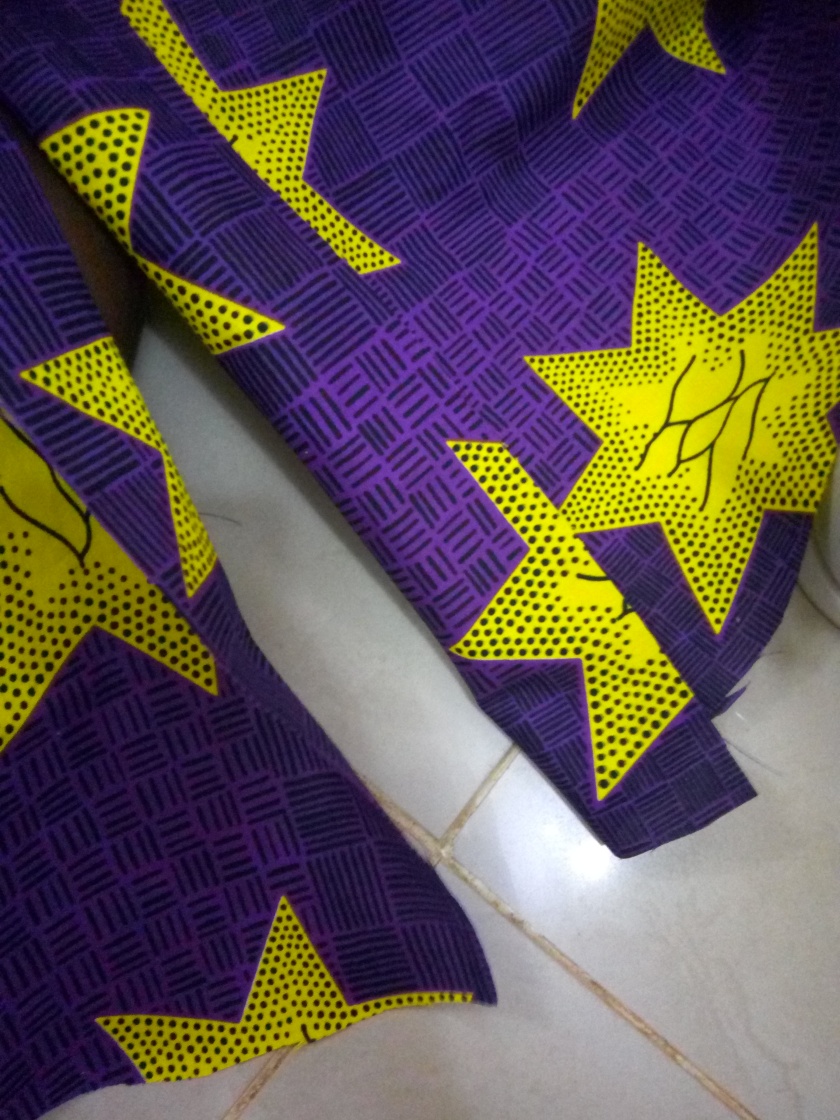
Viola!  You’ve got yourself  skater skirt!

cymera_20170126_123345

Skater skirt

If you like this look,  leave a comment below.


Xoxo,

Tonye.

Ankara Christmas: DIY Ankara Bralet


ankara bralet 17

Merry Christmas  Boos! ❤🎄Hope you are enjoying the holiday, spending time with your loved ones?!  This Christmas is all about my ankara bralet. There was a lot of trial and error, particularly getting the cup shape just so, but I think it worked out ok!

You’ll need:

  • Ankara fabric
  • Pins
  • Zipper
  • Scissors
  • Thread
  • Sewing machine
  • Template

First, you cut the pattern for the cups. I played around with the fabric to get my size. Cut two set of triangles with curved sides to get the cup for the left and right side.

ankara-bralet-1

Cut out two rectangles for the band. Measure around your underbust to get this measurement.

ankara bralet 2.jpg

Sew the curved edges of the triangles together.

ankara bralet

Sew the wrong side two rectangles together. Turn outward to form a nice band.

ankara bralet

To secure the back I attached an exposed the zipper to the ends of the rectangle.

ankara bralet

Pin the left and right cup on the band. Make sure it in place.

ankara bralet

Make two straps and attach it to the tip of the cups and at the back on the band.

ankara-bralet-11

Pin and then sew the cups to the top edges of the base fabric.

ankara-bralet-12

It should (hopefully) look like this!

ankara-bralet-13

As with any cropped piece like this that shows a lot of skin, I paired it with a skater skirt to play down look so it’s not so in your face. I wore this to a Christmas  soirée with friends. Although, before you ask, clearly not the sort of thing you would wear to a family gathering …

cymera_20161226_041825

Happy DIYing!

DIY: The Off-Shoulder Top

Pretty much, the off-the shoulder trend is all around. A trend that has been, is and would stick around for a while. I made mine off an excess fabric I had and pulled this outfit in no time with just ‘a needle and a thread’. You can pull this off if you feel you want to go with the trend in this simple DIY tips.

You’ll need:

  • A pair of scissors
  • A needle
  • A thread
  • Elastic band
  • Safety pin
  • An African fabric

img_20161106_213750_675

How to:

1. Cut two equal fabric measured from your should to your waist for the top.

img_20161106_214320_349

2. Cut two smaller equal rectangles for the sleeves.

img_20161106_214435_630

3. Fold the two rectangular fabric for the sleeves into halves.

img_20161106_214547_597

4. Align the open sides of the sleeves with the seams of your top.

img_20161106_214815_056

5. With you threaded needle, sew the sleeves together with the sides of the front and back together.

IMG_20161106_102106.jpg

6. Once you’re done sewing, fold the top of your garment using the elastic band as a guide.

IMG_20161106_112024.jpg

7. Iron the top of the garment you folded. This allows you to sew evenly.

IMG_20161107_005503_999.jpg

8. Sew along the bottom of  the folded section to create a fabric loop leaving room between the start and finish.

IMG_20161106_121250.jpg

9. Take safety pin and attach it to the elastic.

IMG_20161106_121356.jpg

10. Thread it thought until the elastic appears at the other end.

IMG_20161106_122223.jpg

11. Sew the elastic together.

img_20161107_010410_693

12. Adjust the fabric.

IMG_20161106_124353.jpg

VIOLA!!!

img_20161106_155025img_20161106_183145img_20161106_185046img_20161107_094625